Installation Best Practices Fitting Timber Windows with Precision
This is a subtitle for your new post

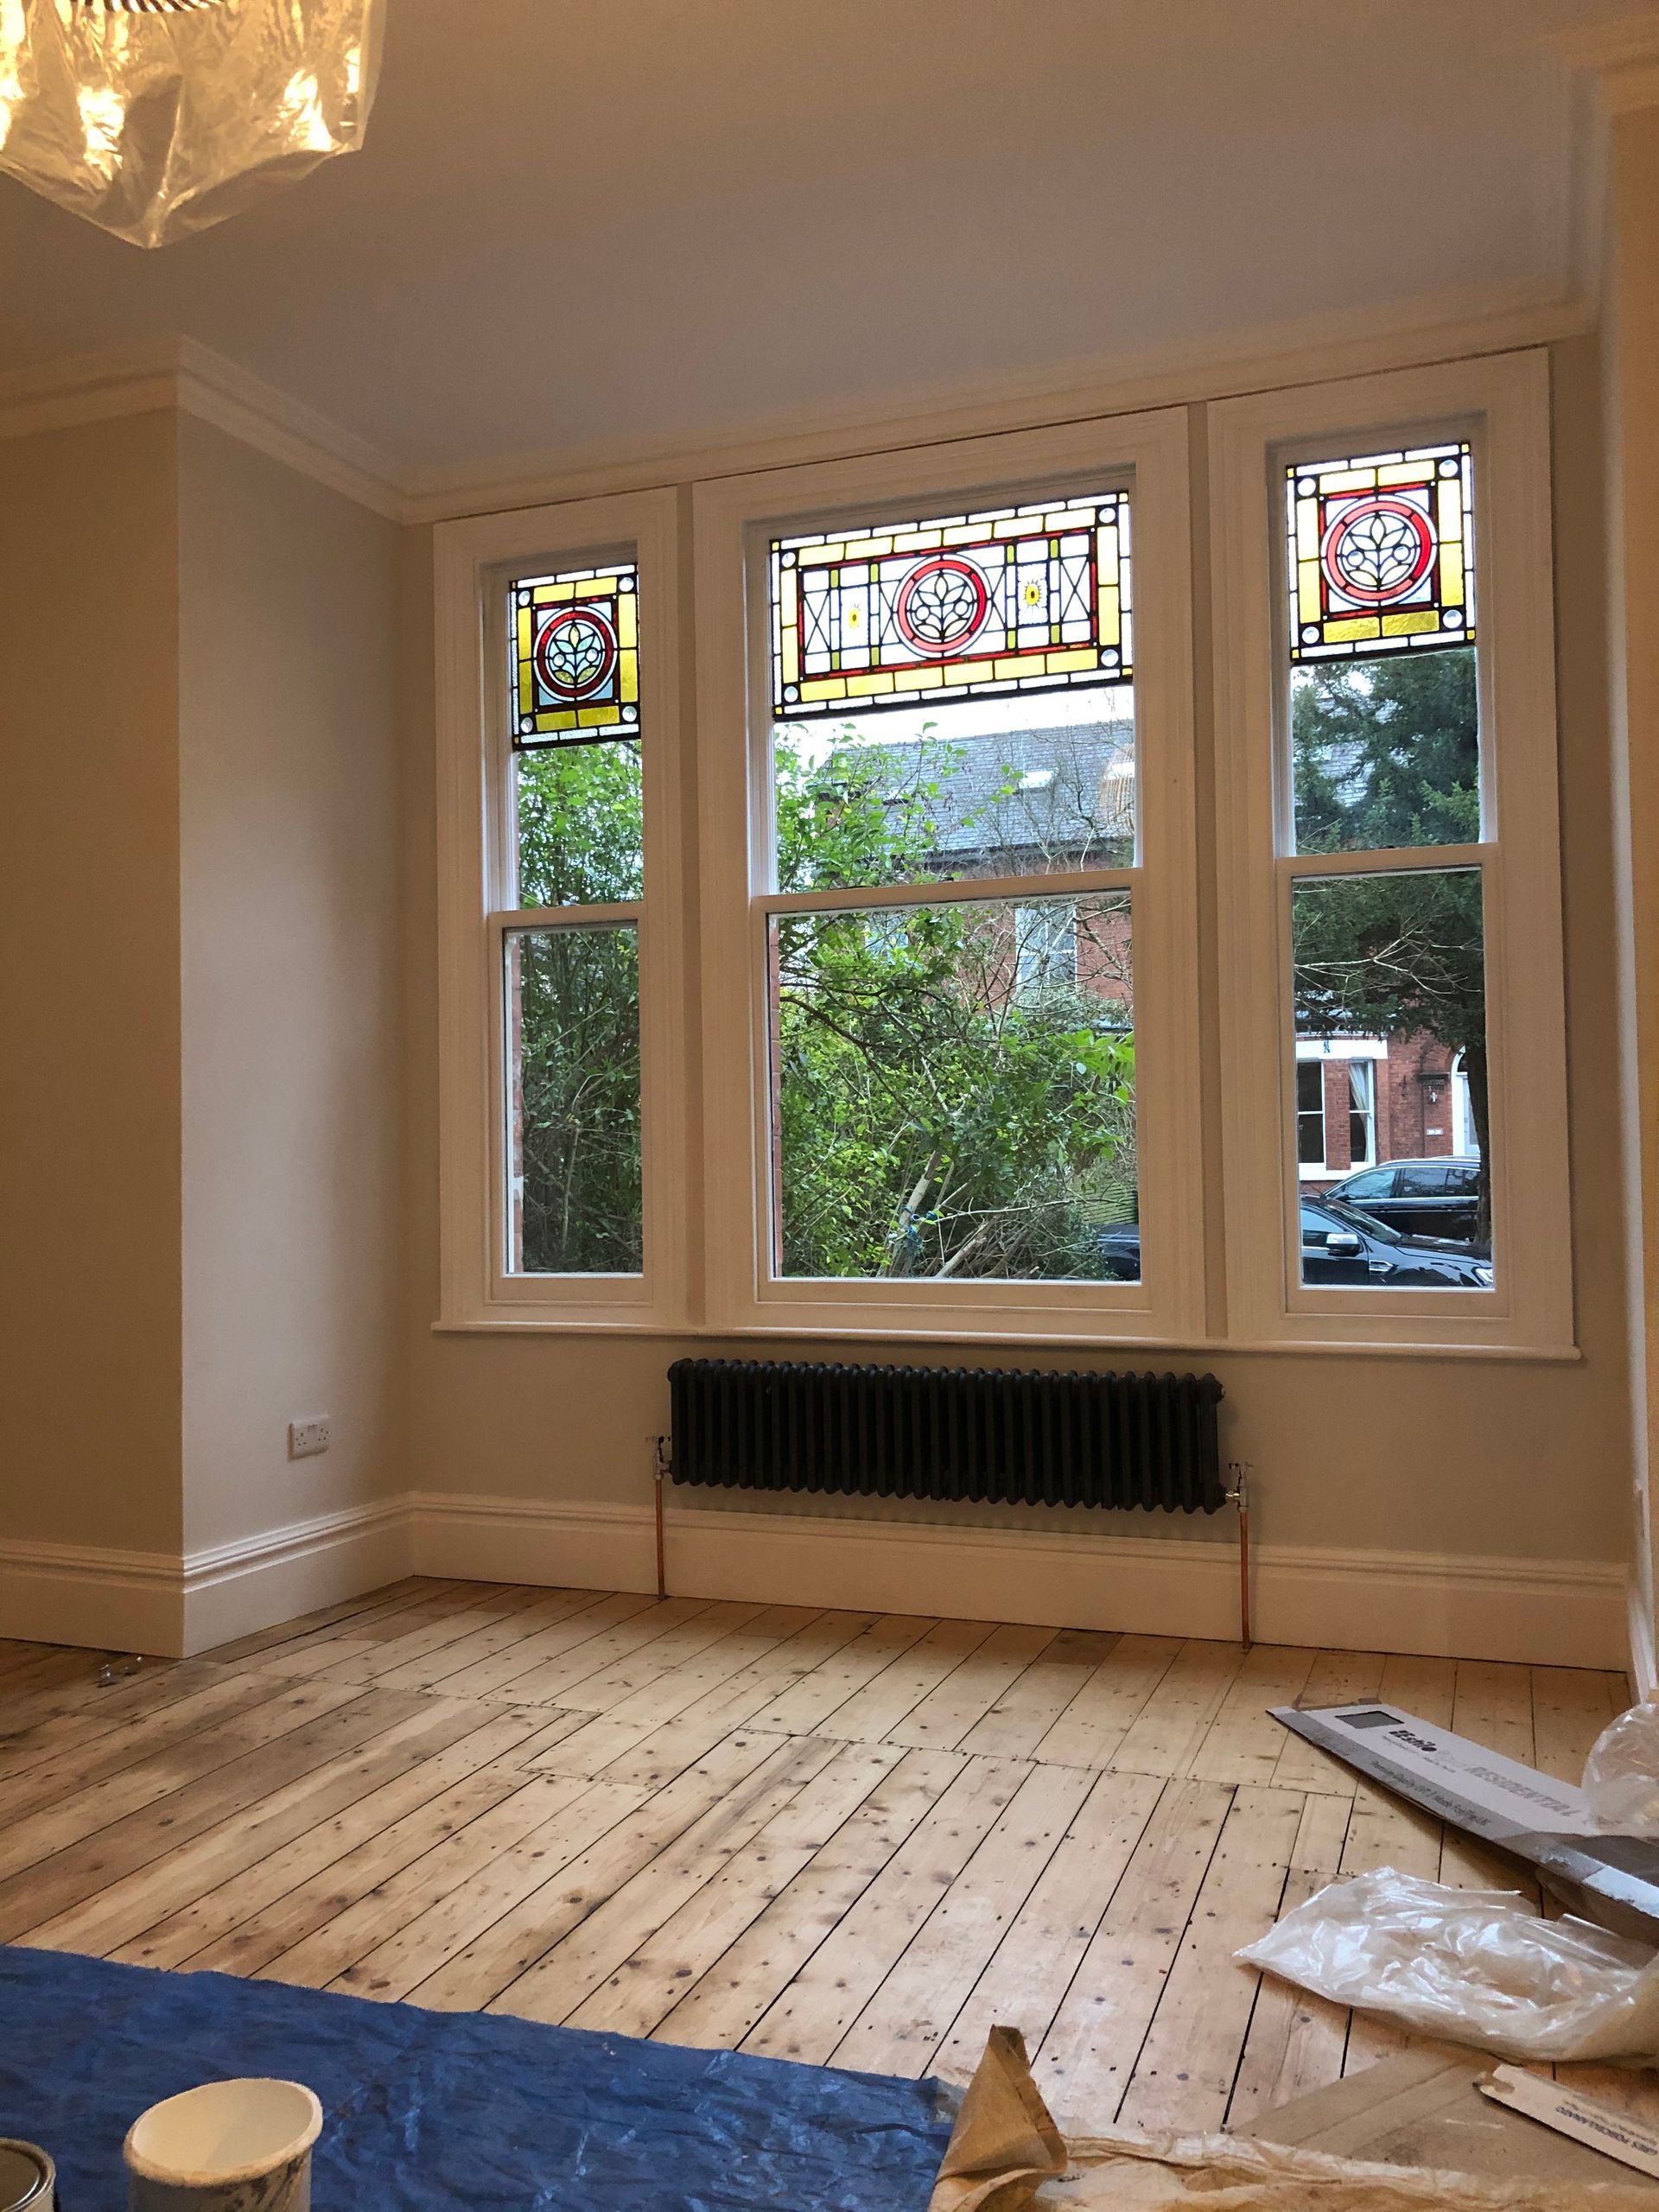
Timber windows lend an undeniable charm to any space, but their true potential lies in their precise installation. In the realm of trade professionals, accuracy in setting up these windows is not just a matter of aesthetics; it is a mark of professionalism and expertise. This comprehensive guide aims to underscore the pivotal role of precision in timber window installation. From measurements to alignment and structural integrity, each facet demands meticulous attention. Delving into this guide is not just about refining skills; it is about fostering a commitment to excellence that echoes through every well-installed timber frame.
Importance of Accurate Measurements
Accurate measurements serve as the cornerstone for a seamless timber window installation, blending the realms of craftsmanship and technical finesse. The precision required goes beyond mere numerical values; it embodies the meticulous artistry necessary for a flawless union between timber window and wall.
Different window styles demand unique measuring approaches, ranging from casement to sliding sash windows. Each necessitates a tailored technique, with measuring instruments acting as extensions of skilled hands. Experience-honed techniques are integral, enhancing the effectiveness of the tools employed.
The journey towards precision is rife with potential pitfalls. Oversight of irregularities, neglect of expansion gaps, or failure to consider frame settling are common mistakes lurking in the process. Reassessing measurements is not an afterthought; it is an ongoing, meticulous process that ensures alignment with the final, impeccable fit.
The success of the entire installation hinges on these initial measurements, functioning as the blueprint and roadmap for the perfect marriage between timber window and wall.
Measuring for Replacement Windows
When replacing existing windows, the measurements are typically taken from the outside of the property. Plasterboard on the inside butts up to the frame, making accurate measurements from the interior impossible.
Measure the Width: Measure the distance from brick to brick, taking measurements at multiple points (top, middle, and bottom). Use the smallest of these sizes and deduct 10mm to determine the width of your new window.
Measure the Height: Follow the same process as above, taking several measurements and deducting 10mm from the smallest size to determine the height of your new window.
If locating the brickwork is challenging, especially on a rendered property, consider removing a small amount of the render on either side of the window to expose the brick. This step is recommended, as the render would need removal during the window replacement.
Alternatively, you can use sizes from your existing frame. Measure in three places and use the smallest sizes (in this case, no deduction of 10mm is necessary). Ensure that you measure the actual frame and not any additional timber added later.
Measuring a Newly Formed Opening
Measure the Width: Measure the brick-to-brick size at various points of the window opening. Take the smallest sizes and deduct 10mm to determine the width of your new window.
Measure the Height: Follow the same process as above, taking multiple measurements and deducting 10mm from the smallest size to determine the height of your new window.
Proper Sealing Techniques
Sealing transcends being a mere finishing touch; it serves as the protective armour shielding against the elements, upholding the window's structural integrity. A meticulously sealed timber window does not just resist weather; it stands as a symbol of craftsmanship excellence.
Selecting the appropriate sealant parallels the careful choice of brushes for a masterpiece. Whether it is silicone, polyurethane, or acrylic-based compounds, various sealants cater to diverse needs. However, the artistry lies not just in the selection but in the application process itself. The skilful application requires an understanding of the right quantity to dispense, the optimal tool for spreading, and the exact pressure to ensure a snug, protective coating.
Weather conditions can be harsh, and sealants must endure the storm. Considerations for different climates or extreme conditions become critical. The effectiveness of a sealant may be compromised if applied during unfavourable weather conditions, such as rain, extreme cold, or excessive heat, which might impede adhesion or hinder the curing process.
Yet, the sealing journey does not conclude with the final stroke of the sealant gun. Regular maintenance and resealing intervals are vital for the window's longevity. It's akin to maintaining a shield, necessitating periodic checks and reinforcements.
In essence, sealing goes beyond simply closing gaps; it involves fortifying the window against the passage of time, diverse weather conditions, and the inevitable wear and tear. A well-sealed timber window is not just a utilitarian installation; it represents a commitment to a meticulous process ensuring enduring quality.
Guidelines for Proper Sealing
Prepare the Surface
Clean and thoroughly dry the window frame and the surrounding wall. Use a high-quality degreaser to eliminate dirt and grease. Brush the wall to remove dust, then wipe it with a damp cloth, allowing it to dry completely.
Tape for Precision
Neatly tape off the sealant edges using masking tape, ensuring a clean and straight application. Maintain a joint width between 5 and 10 millimetres on both the wall and the window frame.
Prepare the Cartridge
Use a safety cutter to cut the top off the cartridge. Turn the nozzle on top and cut the end at a slant, matching the opening to the desired joint size. Place the cartridge in the caulking gun, squeezing the handle until sealant emerges.
Initiate Sealing
Position the nozzle where sealing begins. Squeeze the handle and smoothly move the caulking gun over the joint to apply an ample amount of sealant, ensuring strong adhesion.
Smooth and Remove Tape
Wet your finger with a soap solution or Joint Finish. Smooth the joint and promptly remove the masking tape. Carefully smooth again to eliminate any protruding edges.
Rinse with Water
Use a plant sprayer with clean water to rinse off soap residues, preventing them from adhering to the window frame.
Tip
The sealant does not adhere well to damp surfaces, so avoid sealing immediately after rain or during forecasted thunderstorms. Choose a sealant that matches the colour of the joints in your facade brickwork for a seamless transition between the window and the wall. Note that some sealants may cause stains on natural stone.
Alignment Considerations for Perfect Fit
Aligning a timber window is not just about visual appeal; it is as important, if not more so, for functionality and durability.
Prioritise Alignment During Installation:
- Begin by focusing on alignment techniques to guarantee seamless integration of the timber window.
- Adjust hinges meticulously, ensuring they facilitate smooth movement and a perfect closure.
- Strategically place shims within frames to address any discrepancies and achieve uniform gaps.
- Pay attention to the overall alignment, correcting structural variations or inaccuracies in the installation process promptly.
Fine-Tune Post-Installation:
- After installation, conduct a thorough check for levelness and square alignment.
- Swiftly rectify any deviations to ensure the window maintains its intended equilibrium.
- Approach this step with a keen eye, recognising that achieving precision goes beyond technical accuracy—it reflects a commitment to excellence.
- Consider this meticulous post-installation fine-tuning as crucial for a visually flawless fit and the establishment of a functional, enduring partnership between the timber window and its frame.
In summary, alignment surpasses the mere positioning of the window; it serves as the cornerstone for a cohesive connection between the timber window and its frame. This commitment ensures not only a visually flawless fit but also establishes a functional and enduring partnership.
Ensuring Structural Integrity
Beyond the aesthetic allure lies the essential structural foundation that dictates the enduring robustness of a timber window. Strengthening this core is not merely a precaution; it stands as a pledge to safety and sustained excellence.
Material Selection:
Choose support materials thoughtfully to establish a solid base during installation. Whether opting for load-bearing brackets or robust fixings, these selections serve as the scaffolding upon which the window gains its resilience.
Weak Point Identification:
Pay careful attention to potential structural vulnerabilities. Thoroughly identify weak points such as joints, corners, and weight-bearing sections, allowing for proactive reinforcement to prevent future complications.
Load-Bearing Capacity Check:
Assess the load-bearing capacity of the window. Understand the stresses it will face and address any concerns at the onset of the installation process. This proactive approach is fundamental to long-term structural integrity.
In conclusion, ensuring structural strength is not an incidental consideration but an integral facet of the installation procedure. It serves as a testament to meticulous craftsmanship and unwavering diligence, assuring that the timber window not only embellishes the space but stands resolute against the relentless passage of time.


Share